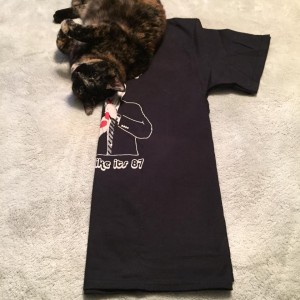
Ah, the t-shirt. It’s an important staple of my wardrobe, but you know what is just as important as the t-shirt itself? The modification! Welcome to my step by step tee tutorial. Learn how to deconstruct and modify your shirt!
I’ve been cutting up my shirts for years, because I never liked how unisex shirts fit (too boxy) and I wanted to give them a more personal look. I’ve been asked how I cut my shirts, so I made a step by step tutorial to help guide you through my process. So grab some scissors and your favorite band shirt and get busy! I can’t wait to see your “new” shirts! Tag us on Instagram #punkymoms
It’s really super simple, I just cut out the neck and cut off the hem of the sleeves. I also make sure to go one size up so that it has sort of a “slouchy, off-the shoulder look” rather than being tight fitting.
Anyway, here are my pics, sorry about the cat (and all the fur!)

Step 1: Start with a shirt one size bigger than your normal size. I usually wear a small (in men’s) so this is a medium.
Step 2: Fold it PERFECTLY in half (the shoulder seams HAVE to match up or your gonna have a wonky neckline!)
Step 3: I normally just wing it as far as cutting, but since this was for teaching purposes, I drew a line where I was going to cut with chalk. I left about an inch and a half of fabric from the shoulder.
After cutting!
Step 4: Here’s where I cut off the hem of the sleeves. I do these one at a time, not with the shirt folded.
After all the cuts!

Once you wash the shirt, everywhere you cut will sort of “curl” as you can see along the neckline and one sleeve. Keep this in mind when you’re cutting the neck, it might hide some of your shirt’s design. You can also cut the bottom of the shirt if you want. I don’t normally do that cause I don’t want mine rolling up. It’s just personal preference.
That’s it! Oh! And be sure to use sharp scissors!
Check out and listen to The Dewtons!
Pin this tee tutorial for later!


I love your helper!